

Sonic Toolkit: Creating Vocal Clarity with Spectral Unmasking
Learn how to carve out precise space for your lead vocals using unmasking plugins like pure:unmask or Curves Resolve for a transparent, professional mix.
Getting a mix that sounds both full and vocal-focused is a balancing act, especially in midrange-heavy genres like rock, where you sometimes want everything to sound loud. One particularly useful technique I often use to help out with this, which takes advantage of relatively recent technological developments, is unmasking using specialised dynamics plugins to carve out space in the mix for the lead vocals.
If you aren’t familiar with the concept, dynamic unmasking uses the sidechain function within capable dynamics plugins to reduce the volume of specific clashing frequencies on one channel (a track/group you want to take a back seat) while another channel is playing back (the track you want to increase the focus on). You are automatically turning down the frequencies in an instrument track/group that are masking the track you want in focus, which helps that focus track cut through the mix more clearly without having to turn down the overall volume of the other track/group. If done effectively, it’s basically playing a trick on our ears; because the specific frequencies are still present in the focus track, you don’t really notice that those same frequencies are being temporarily carved out of the other track/group. When the effected track is soloed, you can usually notice a slight audible hole in the frequency spectrum as the processing happens, but in the context of the full mix, it sounds transparent.
Choosing the Right Tool for the Job
If you already have a workhorse resonance suppression tool like Soothe2 or SpecCraft, they will handle this job incredibly well. However, I often find myself reaching for cheaper, more purpose-built unmasking plugins, like Sonible’s pure:unmask or Waves’ Curves Resolve, specifically for this task.
Because these plugins are designed specifically for this particular sidechaining workflow, the setup is quick. Also, compared to the more fully-featured workhorse plugins mentioned above, the good news is that these specific use-case unmasking tools are quite affordable.
The Setup Workflow
The workflow is similar for both pure:unmask and Curves Resolve. You can usually select a profile, such as ‘vocals’, which quickly modifies the under-the-hood settings to suit the source material.
From there, you simply let the plugin scan your audio to create a bespoke unmasking profile. This gives you a good starting point. Once that profile is built, it’s often just a matter of adjusting a single main knob to determine exactly how much you want the processing to affect the signal.
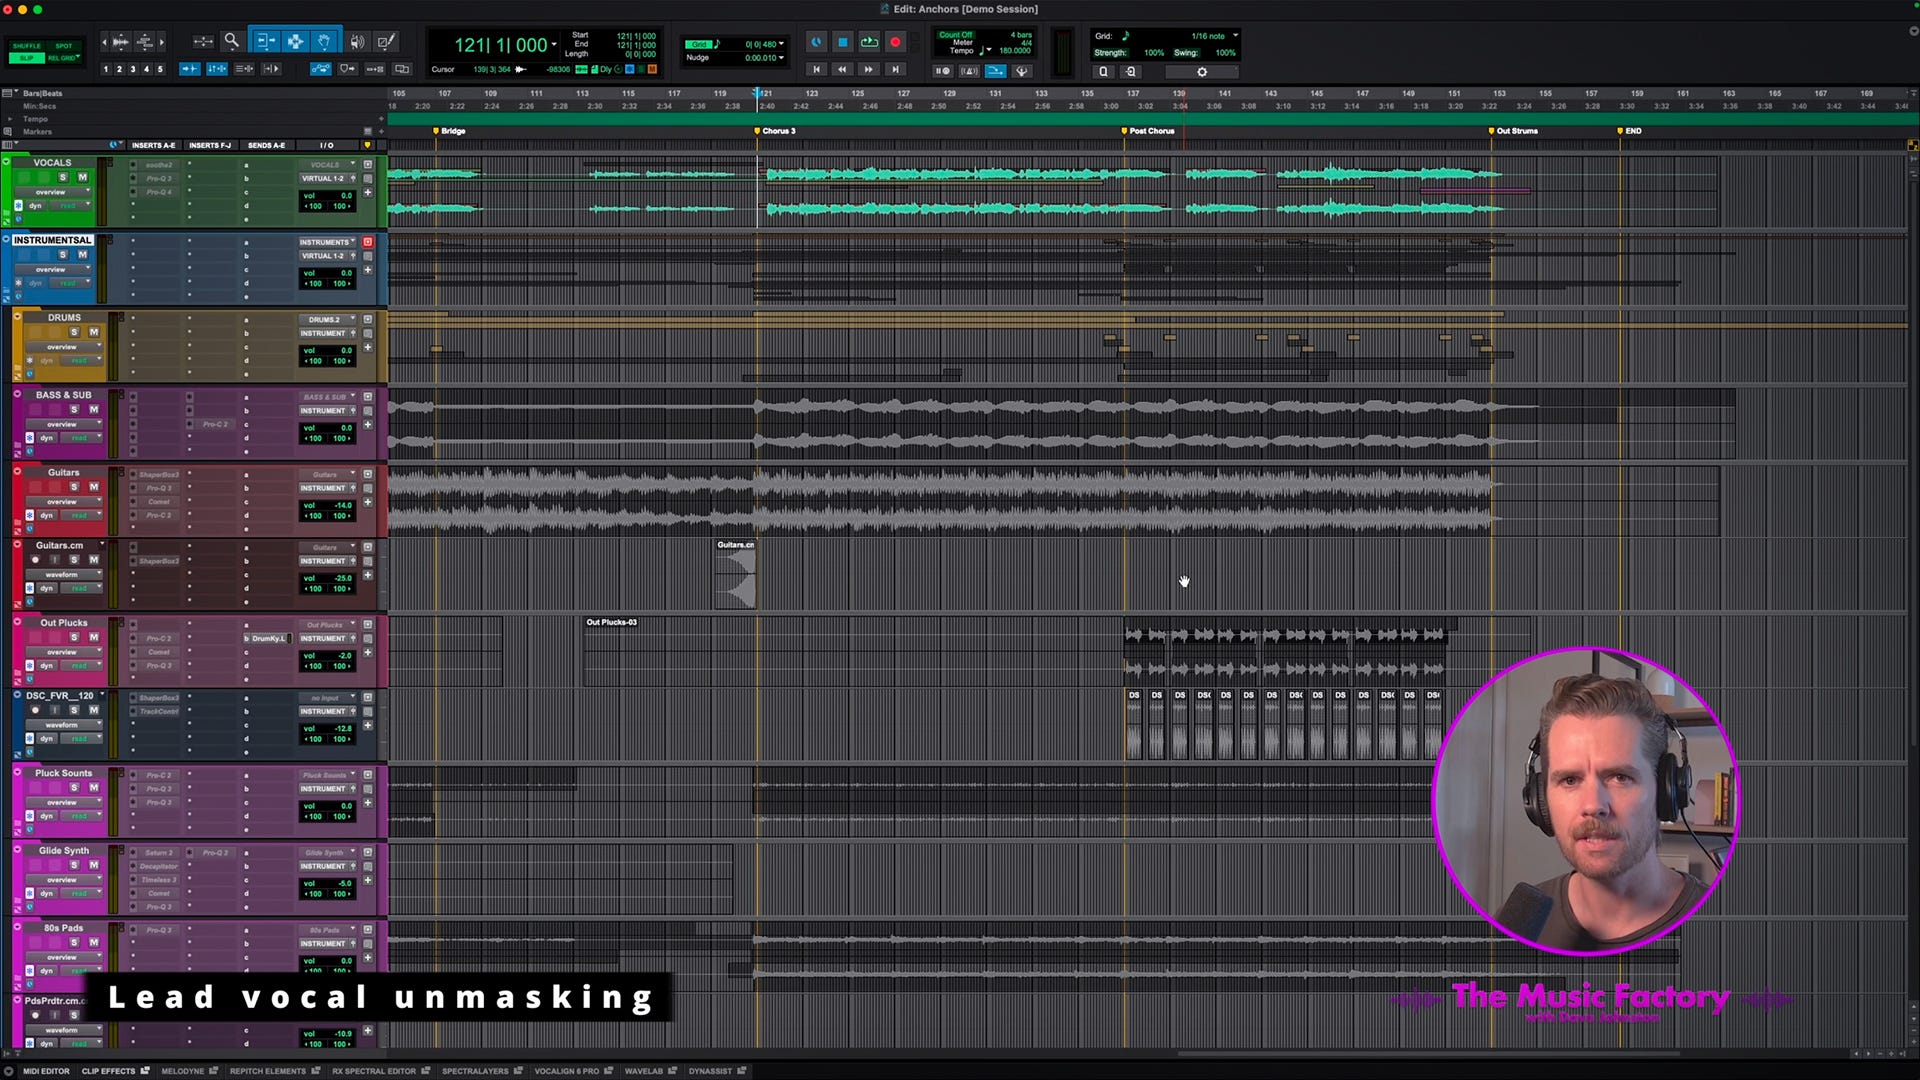
Watch the demonstration below to see & hear how this works in practice.
Making Room for the Vocals in the Entire Instrument Group
While this can be a handy tool for getting two instruments that occupy a similar part of the frequency spectrum to sit together (such as kick and bass), I often put all my instruments through a single ‘Instruments ALL’ group, and with one of these plugins instantiated in the instruments group, I can carve just a touch of space out of the entire instrumental mix to give the lead vocal track a touch more room. For this use case, I usually adjust the plugin settings to avoid processing the low end, as that’s risky territory across a whole mix. But with a light touch, this technique can be a great way to give you a bit more separation.
A Word of Warning: Less is More
It’d be irresponsible of me not to suggest that you tread very carefully with this technique. Take extra care when affecting the full instrumental bus. If you overdo it, your mix will quickly fall apart, sounding unnatural and hollow.
Spectral unmasking shouldn’t be a magic bullet; it should be one of several subtle techniques you use together to achieve clarity. Many small moves add up to a big effect. Use a light touch, setting your threshold so the instrumental signal dips only slightly below the vocals.
By all means, turn the processing knob too far at first so you can clearly hear what the plugin is doing, but be sure to pull it right back before you bounce your mix!
ICYMI: My Latest Release
Copycat EP 01 is a collection of covers dedicated to artists who have influenced my musical identity. It was a gratifying creative challenge to transform the songs into something new with the sonic fingerprint of n1ghtmar3cat while retaining what made them special to me in the first place.


I use Trackspacer to do this kind of stuff on every mix. I use it in M/S mode so I’m just affecting the center of the mix though.
I’ve been using Leapwing Center one though too more and more to do something similar - it just reduces the volume of the sound eg a reverb or pad in the center of the mix. I always use it on reverbs - that was my original idea for getting it, and often I feel it works better than Trackspacer on pads and background vocals as well. It was just an idea I had that has worked out great - I’m not sure how other people use Center One