

Sonic Toolkit: 10 Essential Pro Tools Shortcuts to Speed Up Editing
Don't let menu-diving break your creative flow. Learn to anchor your hands and get your work done much quicker.
Pro Tools is a powerhouse when it comes to audio editing and mixing. But like any new software, when you’re first starting out, there can be a lot of clicking around and tedious menu diving, making you feel like a grandparent trying to use an iPad for the first time.
The good news is that there’s a fast-forward button for getting started: find out which shortcuts to focus on first by asking people who use Pro Tools all the time (like me). When I’m editing and mixing, I use several shortcuts constantly to navigate Pro Tools and make adjustments.
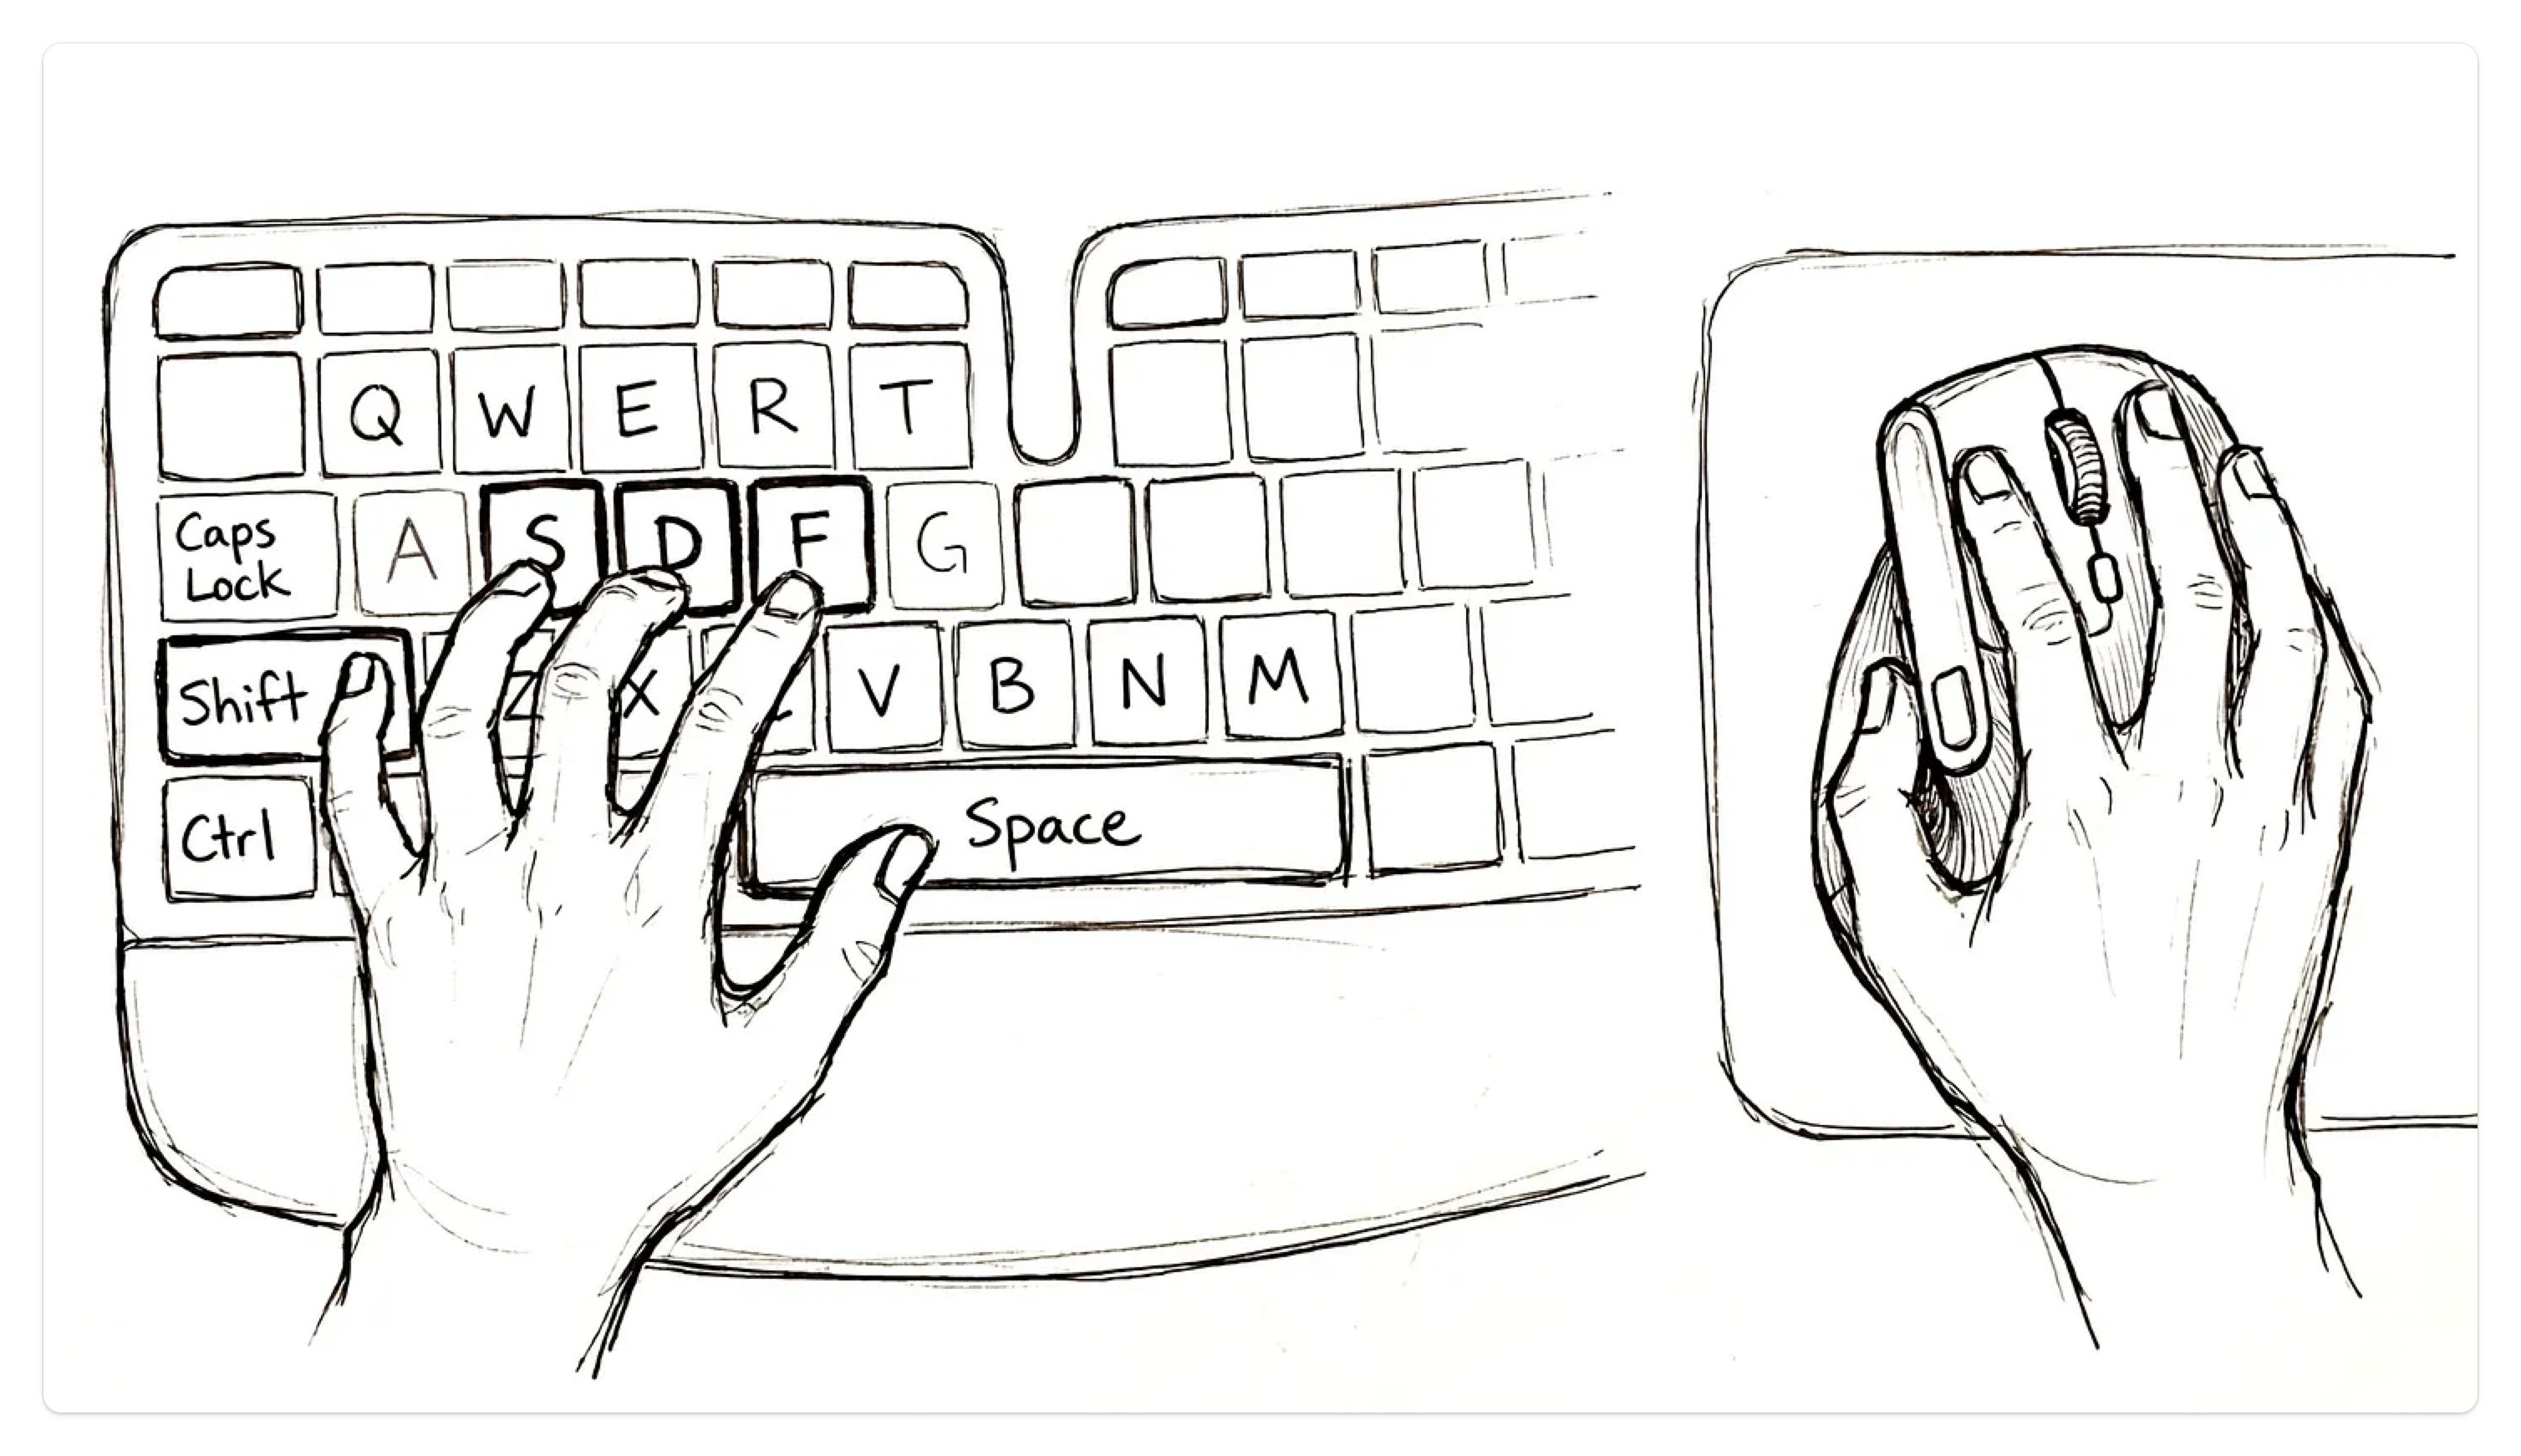
Once you’ve got the core shortcuts locked into your muscle memory, you can anchor your left hand to the bottom-left of the keyboard, keep your right hand on the mouse, and manoeuvre your way through your work at a rapid pace. Most regular shortcuts I use are activated with the left hand on the left half of the keyboard, so just as there’s a default resting position for typing on a keyboard, I’ve got a default position for Pro Tools work. My right hand is on the mouse (that one’s pretty obvious), and my left hand is in the same default position as the left-hand typing position, except my pinkie rests on the Shift key instead of the A.
Why Shortcuts Matter (It’s Not Just About Speed)
While Pro Tools features over 500 shortcuts, many have highly niche applications, and the sheer volume can feel daunting. That’s why I recommend focusing on a small selection of highly useful commands to start with; you can gradually integrate more as you figure out what you need, but getting the hang of this small selection will help you jump those frustrating initial software hurdles much quicker, saving you a heap of time.
More importantly, learning shortcuts until they are subconscious helps protect your creative state. Working in a Digital Audio Workstation (DAW) requires toggling between technical and creative mindsets. If you have to keep interrupting your creative momentum to search through drop-down menus, your flow suffers. Once these commands are burnt into your brain, you can move around a session without breaking your stride.
Note: I use a Mac, so the shortcuts listed below feature Mac commands first, but I’ve added the PC equivalents in brackets.
Before You Start: Turn on Edit Window Focus
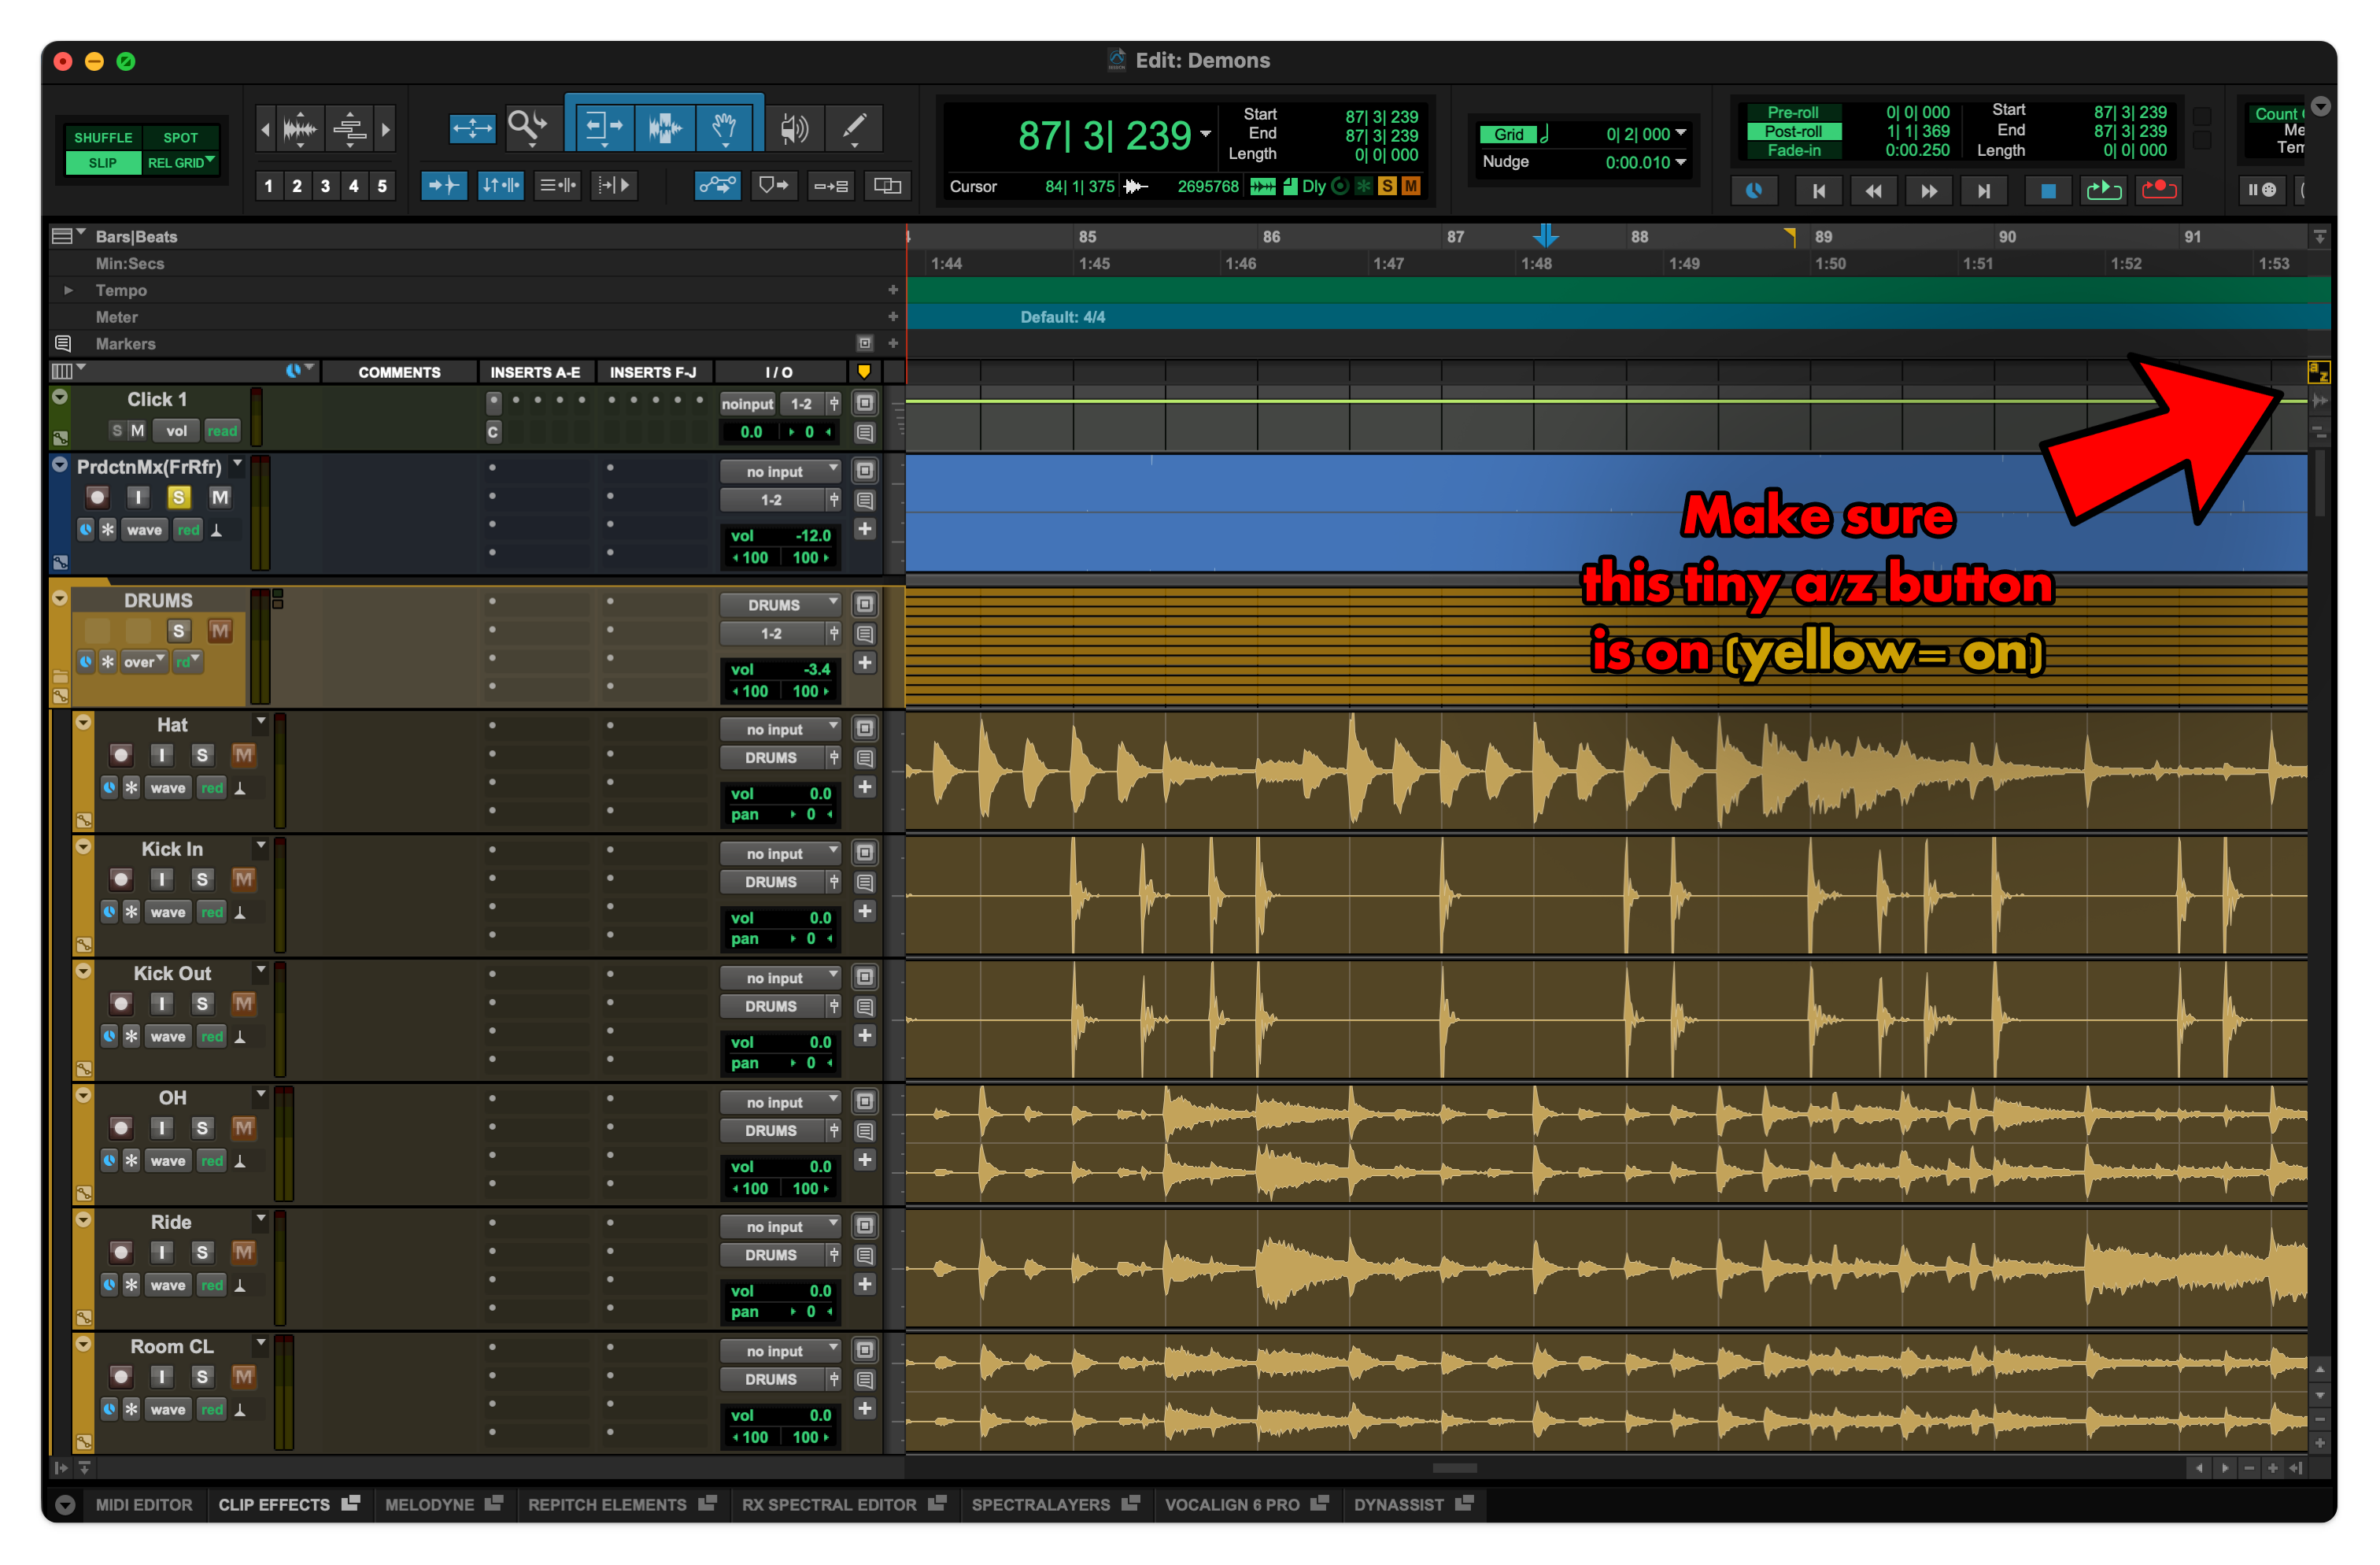
To use the single-key shortcuts below, make sure Edit Window Keyboard Focus is enabled. This is the small A-Z button in the upper-right corner of the edit timeline. If it’s grey, it’s off; click it to turn it yellow. There are other windows where you can activate keyboard focus - some people might find that useful, but I just leave it activated in the Edit Window all the time.
A Quick Comment on Workflow: There are often multiple ways to achieve things in Pro Tools. For instance, I tend to keep the Smart Tool active almost all the time, whereas some seasoned pros prefer using shortcuts to switch between discrete tools and never use the Smart Tool. There is no single “correct” way - if it’s fast and gives you results, that’s what matters.
1. Session Navigation
Mastering the combination of your mouse scroll wheel and modifier keys will save you an immense amount of time when moving through a busy timeline. While spinning the wheel by itself scrolls vertically, adding these keys expands your control:
Horizontal Scroll: Hold Shift while scrolling (hence my pinky resting on the Shift key by default - you need to scroll sideways a lot!)
Horizontal Zoom: Hold Option [Alt on PC] while scrolling to zoom in and out of your timeline. I drop my ring finger down, and the rest of my hand doesn’t move.
Waveform Zoom: Hold Shift + Option [Shift + Alt on PC] and scroll to increase or decrease the visual height of your audio waveforms. Again, I just drop my ring finger down, and my pinky is already at the Shift key. This is an incredibly helpful feature for detailed editing that is often much more cumbersome in other DAWs.
This means that almost all core navigation can be achieved without moving anything except your ring finger about two centimetres from its default position, along with a few small mouse movements.
2. Trimming, Breaking, Deleting
You don’t need to manually hover over the edge of an audio clip, wait for the tool icon to change, and drag to trim your files. You can manipulate your clips instantly with single-key commands:
Trim Start (Left): Place your playback cursor anywhere inside a clip and press A to delete everything from the start of the clip up to that point (everything left of the cursor).
Trim End (Right): Press S to delete everything from your cursor point to the end of the clip (everything right of the cursor).
Break Clip: Clicking a point on a clip and pressing B will split the clip at that point. Selecting a section of a clip and pressing B will split at each end of your selection.
The Secret Delete Button: Highlight an area or clip and press X. While this is technically the ‘Cut’ command, using it to delete audio keeps your left hand anchored to the bottom-left of your keyboard, saving you from looking down and reaching up to the Delete key.
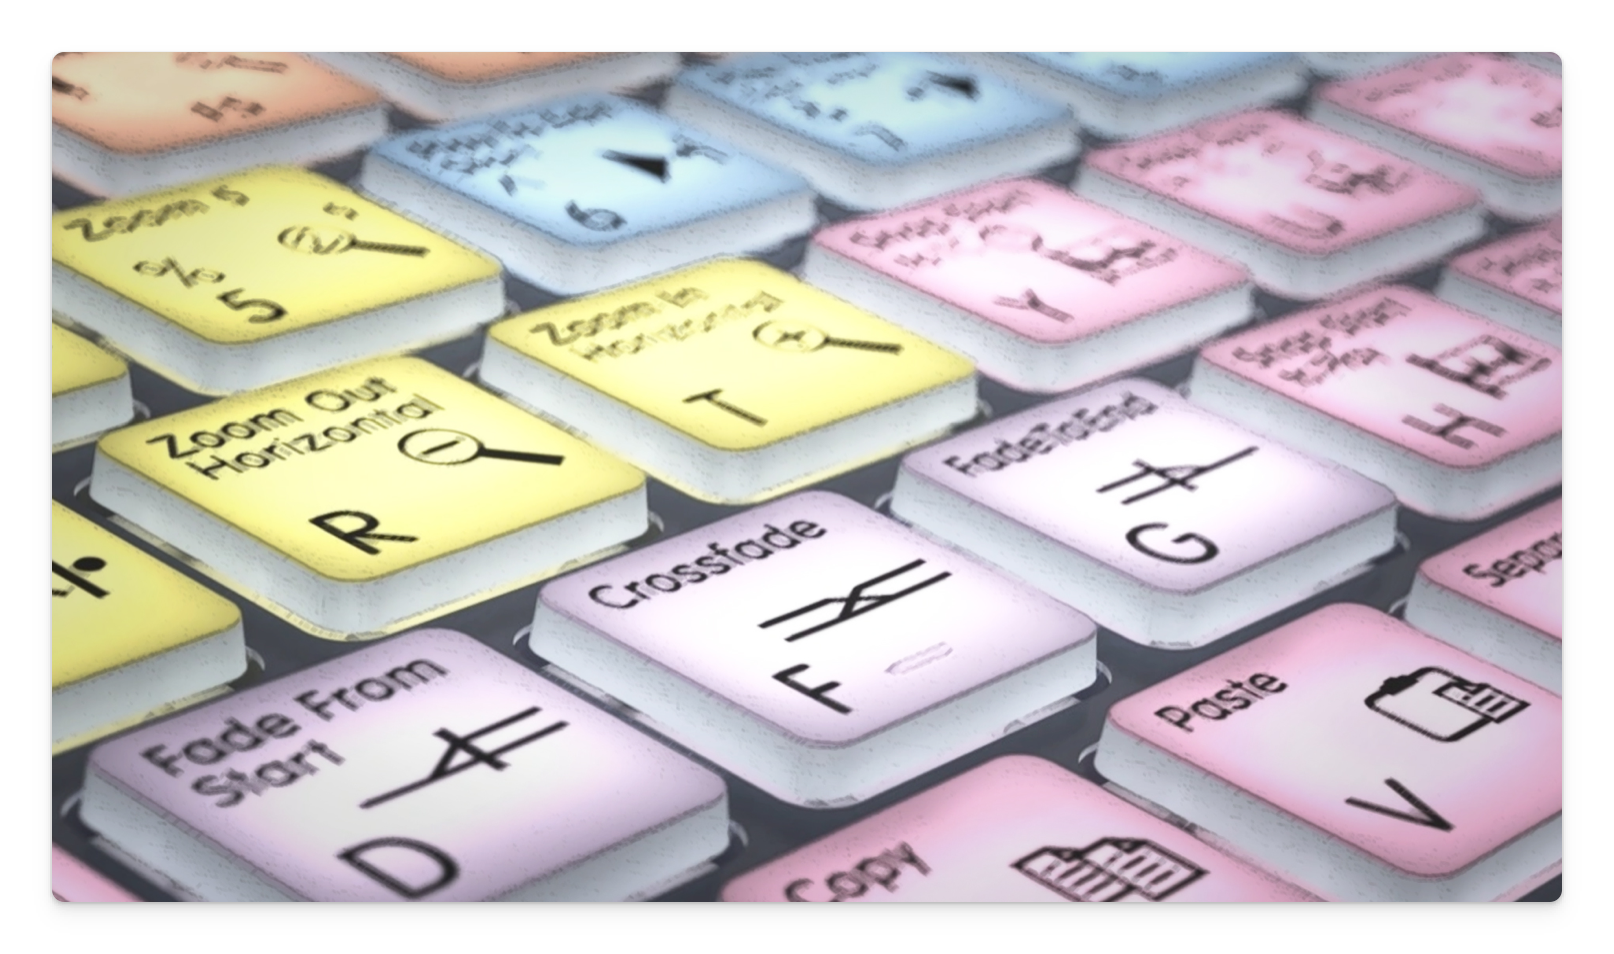
3. Fast Fades
Smooth transitions prevent unwanted clicks and pops at edit points. You can build fades instantly using the cluster of keys right next to your trimming commands:
Selection Fade: Highlight the edge of a clip (or the overlapping boundary between two clips) and press F to create a standard fade or crossfade.
Fade In (From Start): Click a point inside a clip and press D to create a fade-in from the beginning of the clip to your cursor.
Fade Out (To End): Click a point inside a clip and press G to create a fade-out from your cursor to the end of the clip.
Because F is where your index finger is by default, with D and G either side of it, they are incredibly easy to memorise and find without looking at the keys, making all fade operations extremely easy.
Muscle Memory Over Menu-Diving
If you try to memorise all ten of these shortcuts in your very next session, you’ll probably get frustrated. I’d suggest picking one category to focus on to start with. Keep your left hand anchored, because almost all of the shortcuts you need regularly are in the bottom left part of the keyboard.
Force yourself to use the shortcuts instead of the menus, and you’ll pick up the habit in no time. After a while, you won’t even be thinking about the keys - you’ll just be thinking about the music.
ICYMI: My Latest Release
Copycat EP 01 is a collection of covers dedicated to artists who have influenced my musical identity. It was a gratifying creative challenge to transform the songs into something new with the sonic fingerprint of n1ghtmar3cat while retaining what made them special to me in the first place.


This is gold, thank you, Dave! I learned a lot here. I'm going to start working all of this in.
I haven't been making any progress in this area for a while. I did learn recently that I could click on the "S" at the top to turn off any solo'd tracks — very exciting! One goal I'm going to set based on this post — to try and leave the Smart Tool on most of the time. It's really clunky to go back and forth when I'm editing