

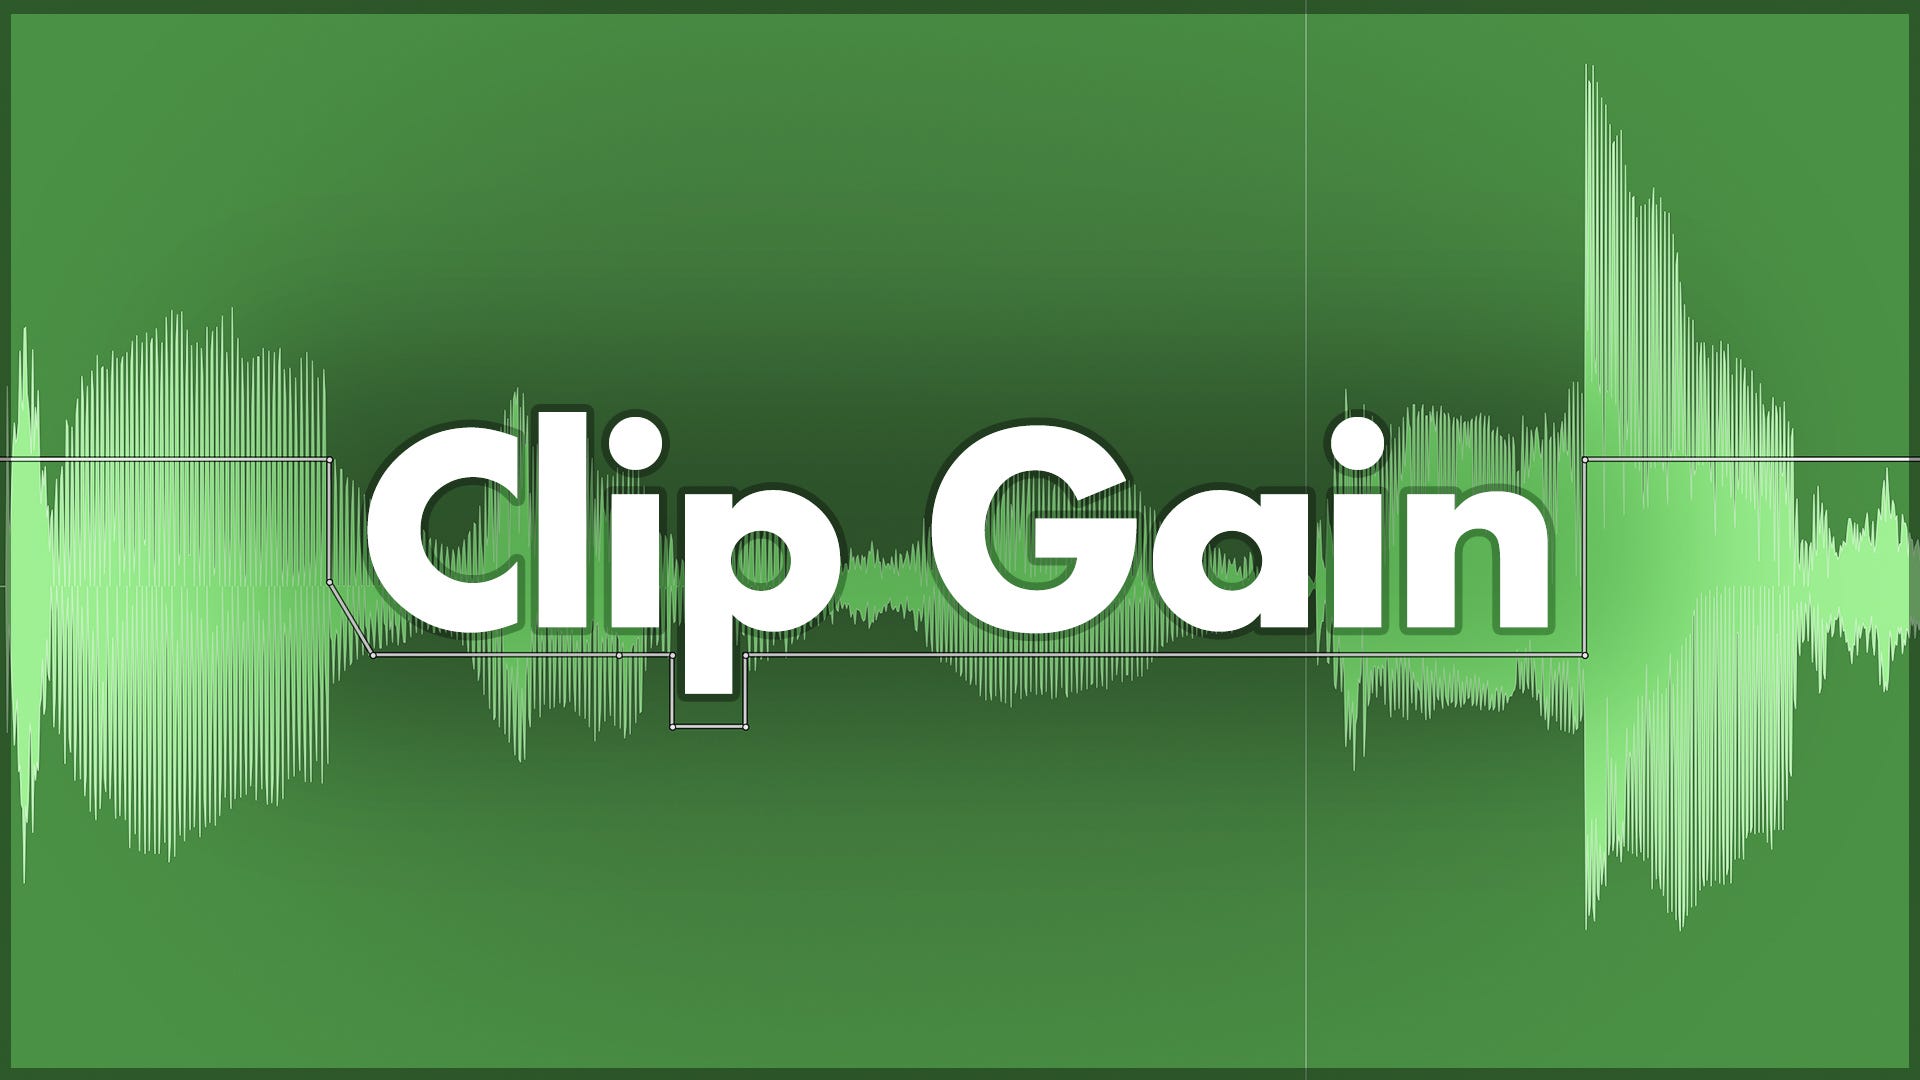
Sonic Toolkit: Prepping Your Audio with Clip Gain for Better Mixes
Is your compressor doing too much heavy lifting? Manual clip gain can fix uneven performances, prevent unnatural pumping, and get every word sitting well in your mix.
Before you dive into a mix, it’s worth spending some time to make sure the audio in your session is well prepared. Even though it can be tedious and time-consuming, tracks like the lead vocals genuinely benefit from a little more time and effort before you start adding plugins. Using clip gain effectively to pre-balance parts of the signal is one way we can make a big difference.
What’s Wrong With Using a Compressor?
Yes, the trusty compressor does even out the dynamics. However, compressors don’t tend to fix wildly uneven performances without leaving a trace, and vocals in particular are often highly dynamic.
With many mixing tasks, I find I can achieve better, more transparent results by taking several small steps using a combination of tools and approaches, rather than relying on a single tool. Lead vocal treatment is a perfect example of this; I’ll use a combination of small levelling moves, including clip gain adjustments, EQ (static and/or dynamic), de-essing, compression, sometimes a touch of saturation and resonance suppression, and volume automation to make sure vocals sit well amongst the instrumentation and are consistently intelligible (i.e. you can hear the words properly). If I just slapped a compressor on and cranked up the settings, the vocals might sit well in the mix for certain parts of the song, but it’s unlikely they’d work well the whole way through.
When you add a compressor onto a raw, dynamic vocal track and expect it to do all the heavy lifting, you’ll often get compression that works well for some words but not others. Either you’ll overcompress some words, resulting in unnatural pumping, crushed transients, and breaths that sound as loud as the singing, or it won’t compress enough to have an impact on the quietest words, which will still get lost in the mix and you won’t be able to hear the singer’s words.
Volume Automation vs Clip Gain
DAWs usually have two primary ways to adjust audio levels: clip gain and volume automation. They seem similar at first glance, but they have one very important difference. If you take another look at the string of levelling moves I outlined in the previous section, you’ll notice that I mentioned clip gain first, and volume automation last - they bookend the signal path.
The volume fader is the most familiar levelling tool. If you push the fader up, it increases the volume of the signal after it has passed through all of the plugins you’ve added, which is usually what you want when you’re mixing. If you turn on the volume automation view in your DAW, you can adjust the volume so it changes automatically at different parts of the track, rather than leaving the fader in one place for the full song.
Clip gain is different because it adjusts the signal level before it reaches any plugins. For certain applications, this is extremely useful to know, as it can make your life a lot easier during the mixing stage.
We talked about how compressors can struggle with particularly dynamic vocal performances, inevitably over-compressing or under-compressing parts of the signal. But if we prepare the vocal clip first using clip gain, we can set the signal to feed into the compressor at a more appropriate and more even level. If we go through and make small nudges to turn up some of the quiet words (or even syllables within words) and bump down particularly loud notes, the compressor won’t be working as hard, and we’ll be able to apply compressor settings that work appropriately across the whole section.
An added advantage of using clip gain is that it doesn’t consume any of that all-important processing power. If you’ve prepped your signal to be more even, you might not need to process it as much with plugins. Each additional plugin adds up, and those savings will make a difference during heavy mixing sessions.
Clip Gain Methods in Pro Tools
There are a few ways to use clip gain to prep your vocals before they even hit an insert slot. I’m using Pro Tools, so you’ll need to check how your specific DAW handles clip gain, but this will give you an idea of what’s possible.
The first way is to click and drag the small fader icon in the bottom-right corner of each audio clip. Just be aware that it can jump up really quickly, and you definitely don’t want to accidentally crank it up by 30dB and hit play. Holding down Cmd (Ctrl on PC) while you drag lets you make finer adjustments.
Next, if you want to get precise with your clip gain and see exactly what is going on, Pro Tools lets you view all your clip gain changes by turning on the Clip Gain Line. This just looks like volume automation. I don’t leave this turned on - it really clutters up the visual experience, so I only tend to turn it on if I need to check what’s happening; then I’ll turn it off again.
Finally, the function I use most often by far is the clip gain shortcut (learn your shortcuts!). It makes quick adjustments super fast, doesn’t require any menu-diving, and keeps the ugly clip gain line hidden unless you need to check it. Select either a full clip or highlight a section of a clip, hold Shift+Ctrl (or Shift+Start on PC) and either tap the up or down keys or scroll with the mouse.
Practical Use Cases for Clip Gain
Gain Staging Before Mixing: Adjust the gain of entire clips that were recorded a bit too hot or quiet, bringing them in line with other tracks to get them ready for mixing.
Pre-Compressor Vocal Riding: By feeding a smooth, pre-balanced signal into your compressor, you can adjust the compressor settings to focus on character and tone rather than forcing it to do all the heavy lifting.
Taming: Attenuate plosives (P & B sounds), breaths, sibilants, and other harsh non-tonal vocal sounds that jump out a bit too much. This often sounds more natural when done before the plugin chain.
Matching Comped Takes: When compiling a vocal or instrument track from multiple takes, the energy level can vary slightly between each performance. Visually matching waveform sizes can help them sound more consistent, as they’ll hit the plugin chain at a similar level, making it sound more like a single, seamless performance.
The Payoff of Prepping
Taking the time to manually adjust clip gain before you even load up an EQ or compressor is a massive investment in your mix. It might not be as instantly gratifying as throwing on a fancy plugin with a vocal preset, but it sets your entire plugin chain up for success. By handling the tedious work of volume management early, you free up your dynamic processors to do what they do best: add character, tone, and excitement to the track. On your next mix, try spending some time prepping your clip gain before you go further - you might be surprised by how much smoother the rest of your session feels.
ICYMI: My Latest Release
Copycat EP 01 is a collection of covers dedicated to artists who have influenced my musical identity. It was a gratifying creative challenge to transform the songs into something new with the sonic fingerprint of n1ghtmar3cat while retaining what made them special to me in the first place.


Thanks. I had to do a lot of clip gain on a vocal recently and it got me thinking about revisiting the Vocal Rider plugin or something similar - I’m guessing there’s others out there now.
For de-essing it’s pretty normal for me to use clip gain as part of that but now I’m wondering if there’s an automated way to do that as well