

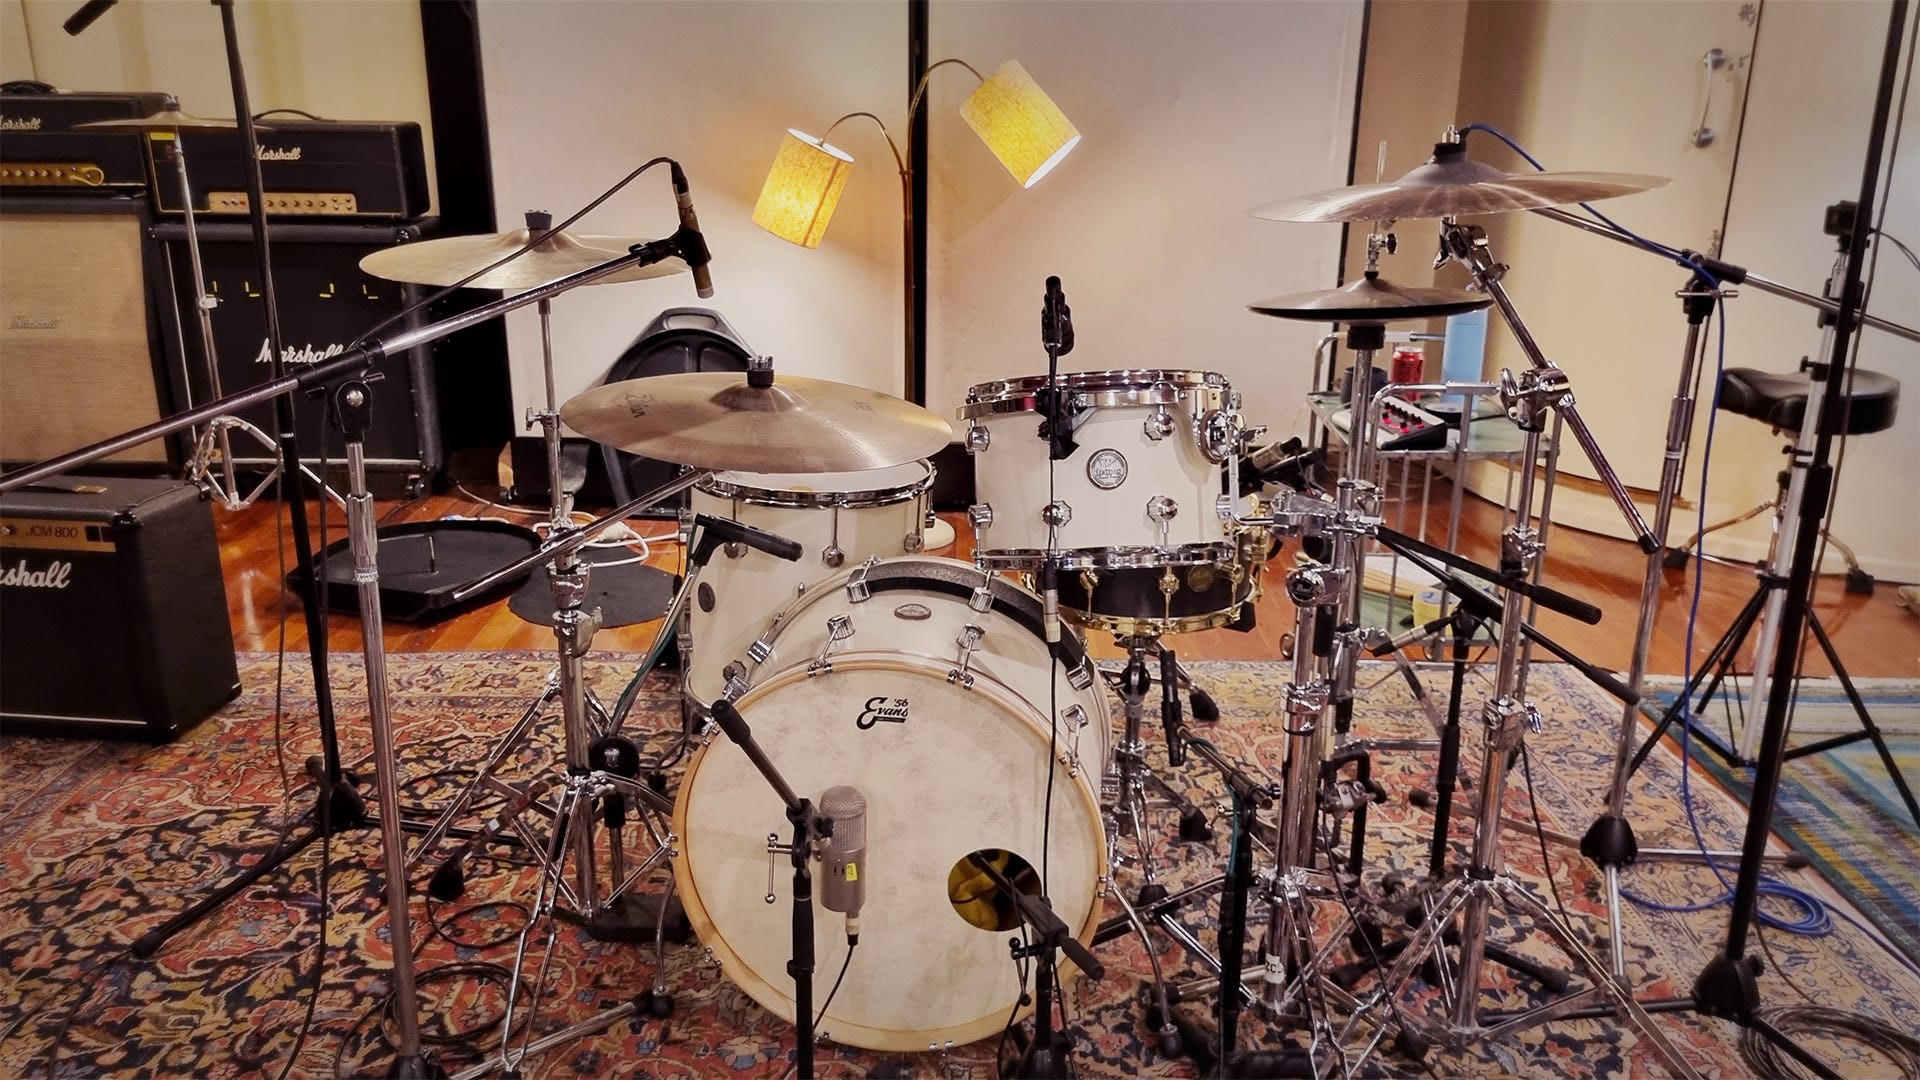
Incorporating samples to layer or replace raw drum tracks is a common way to quickly achieve a drum mix that cuts through and sounds “professional”. Plugins like Drumagog from Wave Machine Labs, Trigger 2 from Steven Slate Drums, and InTrigger from Waves offer a quick way to detect transients in drum recordings and either replace or layer in samples that have been expertly recorded and processed so that they don’t require much tinkering to fit into a mix.
Using such tools can be incredibly useful and can save a lot of time in certain situations to enhance or rescue a mix, or to throw over drums on a rough demo to quickly get an idea of what a “produced” version might sound like. However, there are times when using samples that don’t match your drums can be the wrong choice.
Recording Drums is Hard
Learning to record and mix drums well takes time and experience. It’s one of the hardest instruments to record because it requires multiple microphones to capture the kit at once, introducing several unique challenges.
Bleed and Spill
Because the various drums and mics are all close together and the sound source tends to be loud, the microphone aimed at one part of the kit will inevitably pick up spill: the sound from other sources you’re not intending to record with that mic. Every single mic picks up the main element it’s pointed at, plus the rest of the kit.
You can reduce spill with effective mic selection and positioning, but you can’t eliminate it entirely without processing. This makes mixing difficult. If you turn up the track called “Rack Tom” in your DAW, it might sound good until the drummer hits a cymbal, and those piercing high-mid frequencies jump out far too loud. If you EQ the snare to get it sounding brighter and snappier, the harsh hi-hat and cymbal frequencies get boosted along with it. When you pull down the level of the overheads to turn down the cymbals, suddenly the whole tone of the kit changes.
Phase Differences
Recording with multiple mics also means dealing with phase differences. Because the mics sit at varying distances from the sound sources, sound waves take longer to reach some mics than others. When you combine the signals from two microphones picking up the same source from different distances, it isn’t purely additive; some parts of the frequency spectrum will be amplified, while other parts will be attenuated.
For example, when using two mics on a kick drum - one inside near the beater and one outside the resonant head at twice the distance - it’s critical to check what those mics sound like blended together. If they are out of phase, you risk sucking the low-end weight and impact out of the kick.
In other situations, phase issues arise from mic angles rather than distance. Take the snare drum: it’s common to record the top head for impact and body, and the bottom head for the high-frequency snap of the snare wires. Because these two mics point at the same drum from opposite directions, the phase for the core frequencies in the bottom mic is completely inverted relative to the top mic. If you don’t flip the phase on the bottom mic channel, the body of the snare can significantly cancel out, leaving you with a thin-sounding snare drum.
The Learning Curve
Some of these concepts get super technical very quickly, and delving further into them could fill many articles. Recording and mixing drums well combines a range of engineering concepts, troubleshooting, and trial and error. As with anything, you get better and faster with experience as you build your toolkit of techniques, but it all takes time.
The Value of the Struggle
The good thing about pushing through the struggle is that great-sounding drums can go a long way toward making the entire mix sound great. Taking the time to learn to record and mix them well is absolutely worth it.
Drums really benefit from a good studio space. With a typical modern band setup, we don’t necessarily need to hire a large studio for every part:
Vocals can be tracked in a small booth or control room.
Guitars and bass only need a small isolation space or can use amp simulators directly.
Keyboards and synths are usually plugged straight in via DI.
In most of those cases, engineers actively try to reduce room reflections. With drums, however, recording in a large studio space is a great opportunity to capture not just the direct signal of the kit, but also how those drums fill the entire room. The room itself becomes an extension of the instrument. A well-positioned stereo room mic setup captures the way sound emanates and bounces off the walls in complex combinations, giving the entire recording a depth and character you can’t easily fake. A great drum performance captured in a great studio will have a significant positive impact on the overall musical work.
What Makes Drum Recordings Unique?
1. The Drummer & Their Performance
This is a big one. The particular way a drummer plays makes a huge difference to the character of the resulting recordings. If I were producing a band and had the option between their drummer or a technically superior session drummer, I’d pick the band’s drummer almost every time (assuming they are capable and well-rehearsed). It’s an important way to help the recording actually sound like that band. A good song with great-sounding drums is one thing, but a good song with drums that feel like a genuine part of the band’s identity is more valuable.
2. The Combination of Drums and Cymbals
Having good-quality drums with fresh, properly tuned heads is critical. The difference between a cheap kit and a high-quality kit is vast when it comes to recording, and good source tones will make the mixing engineer’s job significantly easier. Equally important are the cymbals: cheap cymbals sound harsh, and that unwanted sharpness will spill into every microphone, degrading the sound of the entire kit. It doesn’t matter how good the studio and microphones are if the instruments themselves are no good.
3. The Room
While there are plenty of great reverb plugins that simulate room acoustics, it’s hard to beat the natural contribution of a great studio space. Room mics pick up sound at a distance, adding three-dimensional depth and a slight natural time delay that artificial reverbs struggle to replicate. Even if you end up adding artificial reverb during the mix (which is very common), having real room mics to blend in makes a massive difference.
4. Microphone Selection
Appropriate microphone selection and placement tailored to the kit and room are essential parts of the equation. Use good mics suited to the source whenever you can!
5. The Story & Memories
This is an underrated point that often gets forgotten in the era of home-studio recording, when most instruments can be overdubbed individually without the full band present. Because drums require a larger space and are usually tracked first, drum tracking is often the time when the entire band gathers to work through final arrangement details. This time spent in the studio together creates lasting memories and connects you to the long tradition of collaborative music-making in dedicated spaces. It seems with each passing decade, more and more recording studios get turned into apartment blocks, never to be seen again. Whenever I’m in the studio with other people, it feels special, and I try not to take that feeling for granted.
Once you pull all of the above factors together, your drum recordings will have a unique flavour that won’t easily be replicated.
Adding Generic Drum Samples...?
Now that you’ve gone to all this effort to record the drums well and capture something unique, hopefully you’ll understand why it might be the wrong choice to slap on generic drum samples recorded by a different engineer in a different studio with a different kit. Getting a quick “produced” sound is one thing, but being more intentional by spending a bit more time to get the result without using generic samples can be more rewarding.
Stock samples are a quick fix and can occasionally be useful, but turning to them too quickly is a mistake. If emerging engineers get into the habit of cutting corners on drum tracking because they plan to swap everything for pristine stock samples, they miss out on the valuable lessons learned from wrestling with a real kit. They might be able to get a slick-sounding result, but they won’t be able to do it while also retaining that unique identity we’ve been talking about.
The Best of Both Worlds: Capture Your Own Samples
Here is an approach I recommend to anyone recording drums: when you’re in a studio drum session, make sure you record a set of isolated sample hits from that exact kit setup.
If you do this well, you get all the dynamic, human advantages of live drum takes, plus the option to enhance them by blending in clean, one-shot samples that have zero cymbal bleed. Because you are using the exact same drums, drummer, tuning, mics, and room, these custom samples will blend seamlessly with your live tracks without sounding artificial.
Tips for Recording Your Own Drum Samples:
Track them immediately before you track each song: Record your samples right before you start doing takes, using the exact tuning set-up for that song.
Keep the room silent: Get everyone else to leave the room so ambient noises don’t ruin the tail end of the sample decay.
Capture multiple dynamics: Record several soft, medium, and hard hits for each drum to give yourself dynamic options later.
Let them decay fully: Allow each hit to ring out completely for several seconds so you capture the full decay and room response.
Disengage the snare wires: Turn off the snare wires when sampling the kick and toms to keep the buzz out of your clean samples.
Record with all the microphones on: Don’t solely record the direct mic of the drum you’re sampling; leave all the mics hot so you can figure out the balance of the samples later on.
Interested in learning how to layer and blend these custom samples into your mix? I’ll share my approach along with a video demonstration in an upcoming article.
ICYMI: My Latest Release
Copycat EP 01 is a collection of covers dedicated to artists who have influenced my musical identity. It was a gratifying creative challenge to transform the songs into something new with the sonic fingerprint of n1ghtmar3cat while retaining what made them special to me in the first place.


I love the detail you get into here in regard to collecting samples. Do you use Auto Align at all. I’m still a bit new to it but it seems like a game changer
Great article. The only thing holding me back from recording acoustic drums is that I don’t have a good room for it. It would sound awful in my laundry room/cat bathroom studio. It’s the same reason I use headphones, even though I have great speaker monitors. I use a Roland kit with Superior Drummer 3, but I’d much rather be recording real drums. When I can build or buy a proper studio space, I will get an acoustic set and start recording that way.